Frightfully fun activities for your Trick or Treat party!
Thank you for hosting a Trick or Treat event this October
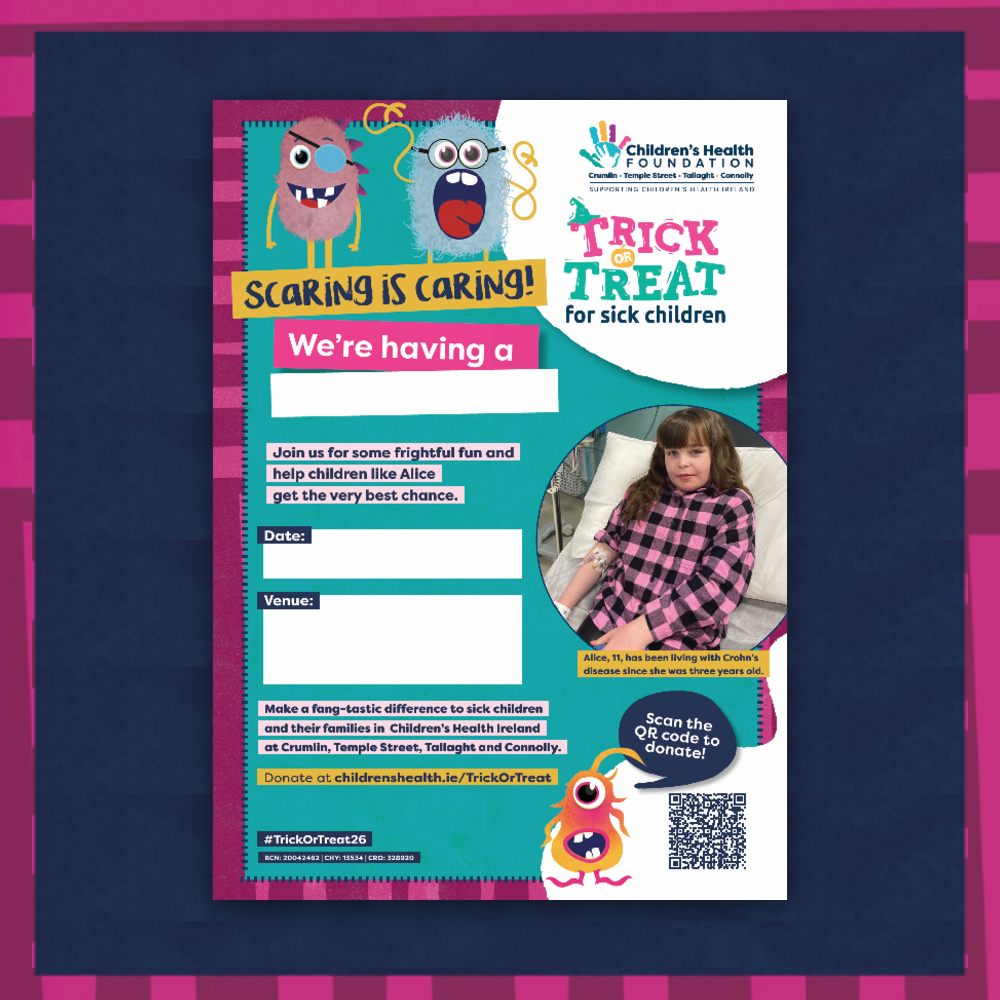
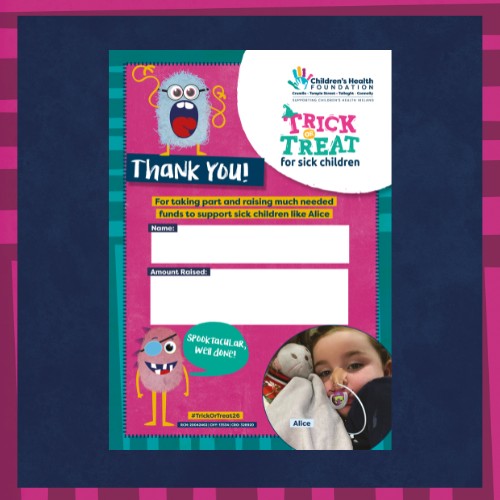
You're in! 👻 Unlock a full bag of tricks and treats below — your exclusive resource stash for a hauntingly good Halloween event.
Looking for additional ways to frighten up your Trick or Treat event? We’ve got you covered with activities for all ages to make your event a hit! But first, some quick tips on getting your event started.
The most important tip is to have some fearsome fun! Be sure to keep an eye peeled on our socials and tag us using #TrickOrTreat26. Now that you’ve got what you need to get your event in motion, let’s look at the extra items we have available to make your event even more spook-tacular.
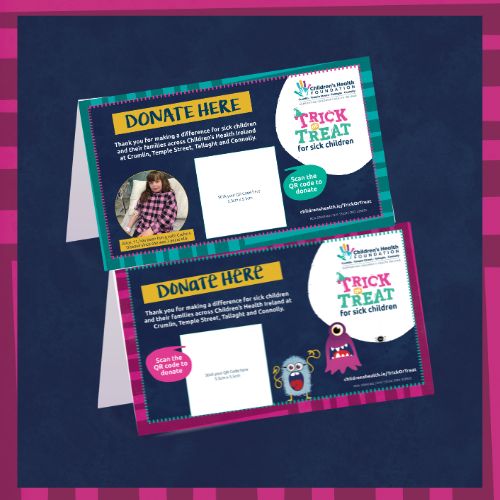
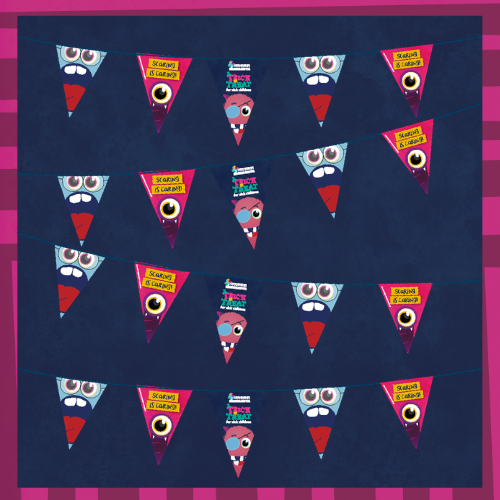
This A4 tent card includes a space for your QR code, linking directly to your Trick or Treat fundraising page so trick-or-treaters and neighbours can scan and donate on the spot.
How to assemble it: Print the tent card on A4 paper and follow the marked fold lines. Fold it in half to create the tent shape, then fold the base as indicated and glue or tape it in place so the card stands securely.
How to add your QR code: Print your QR code separately at 5.5 cm x 5.5 cm, cut it out, and stick it in the space provided on the tent card.
Once assembled, place your tent card on your treat table, doorstep, or anywhere guests can easily see and scan it.
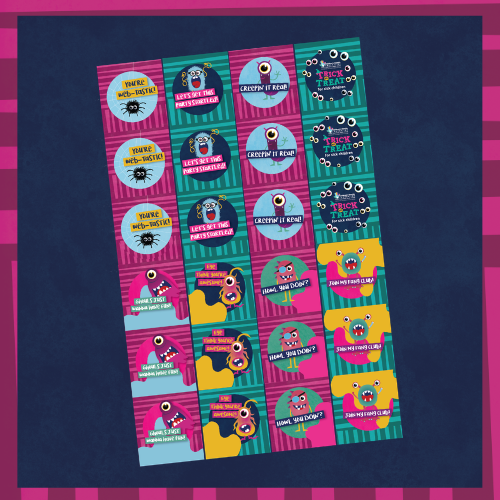
Add a fang-tastic finishing touch to invites, treat bags, or your front door with these Trick or Treat stickers.
Printing instructions: designed to print on Avery-compatible round label sheets (Ø 37mm Round, Avery® Blank Labels, 24 per A4 Sheet). Load a full label sheet into your printer and print at 100% scale — not “fit to page” — so the stickers line up with the labels.
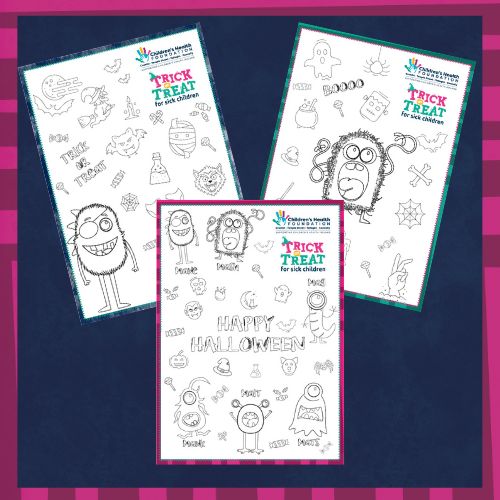
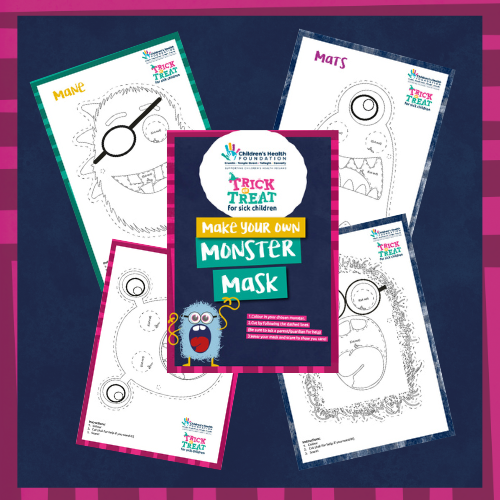
Take a look at the monsters we have available to colour in. Do you prefer Mank or Malt? What about Mane or Mash? Choose your favourite and print it out.
Meet our monsters! Which will you choose – Mank, Malt, Mane or Mash? Pick your favourite and print it out.
Get Decorating
Now comes the fun part! Grab your crayons, pencils or markers and start colouring your monster. Remember, monsters can be any colour you want – green, blue, pink, or purple. You can even add polka dots or stripes! Make them as wild and wacky as you like.
Cut it Out
Once your monster is looking fabulous, carefully cut it out along the dashed lines. Ask a grown-up for help with the eye holes if needed.
Attach the Strap
Ask a grown-up to make small holes on either side of the mask. Thread some yarn or string through and tie a knot. Make sure it fits comfortably around your head!
Show off your Monster Mask
Strut your stuff in your custom designed mask. You’ll look frightfully awesome!
We hope you have a spook-tacular time at your Trick or Treat event and enjoy the extra activities we have provided. We sure can’t wait to hear all about your fang–tastic Trick or Treat event!